Two days is not a lot of time. For most dishes, it’s overkill. For tonkotsu-style broth, it’s the minimum — and understanding why takes about thirty seconds once you know what you’re actually building.
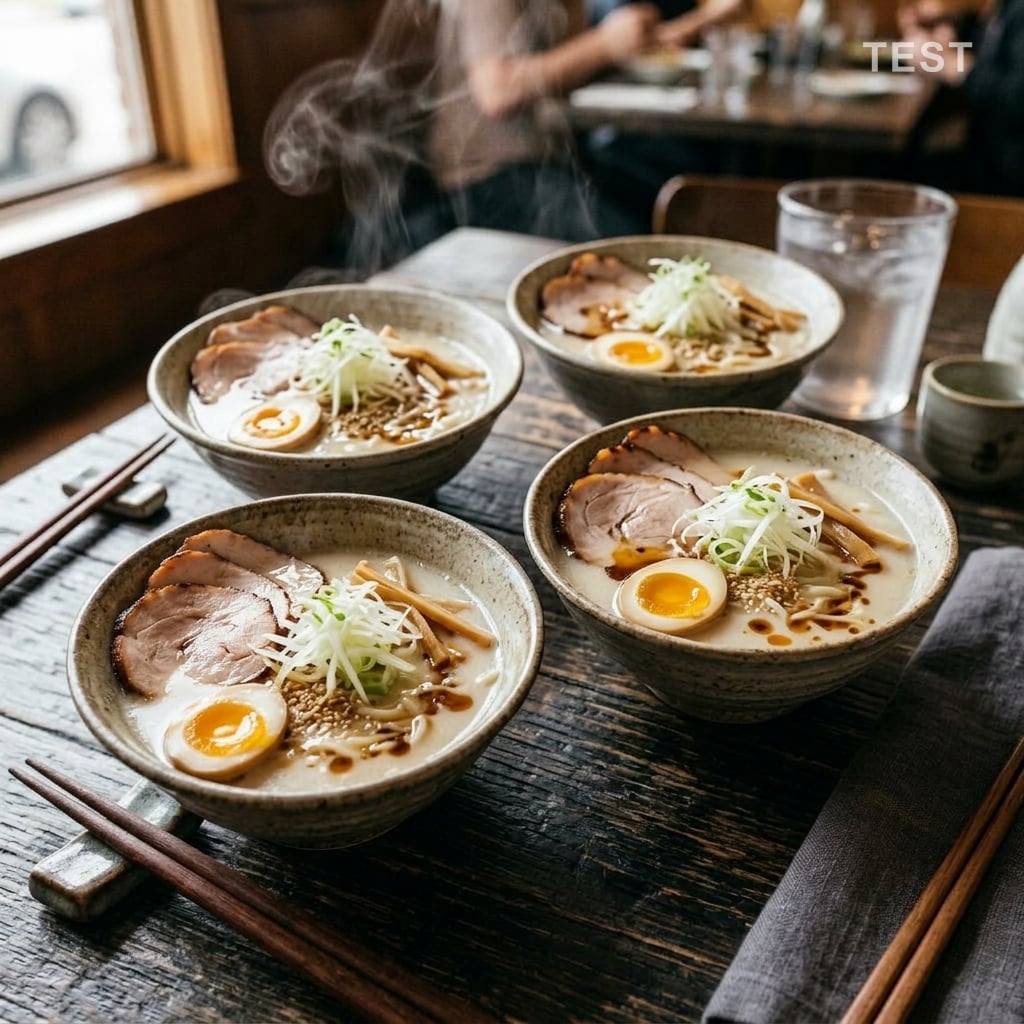
The finished broth is white. Not cream-colored, not pale — white, and opaque, the way whole milk is opaque. That color is not an accident and it is not added. It comes from collagen extracted from the bones over hours of vigorous boiling, forced into emulsion by heat and turbulence. The surface carries a thin shimmer of fat. The noodles sink into it and hold their shape for a moment before softening at the edges.
Why you’ll love this recipe
Ingredient Notes
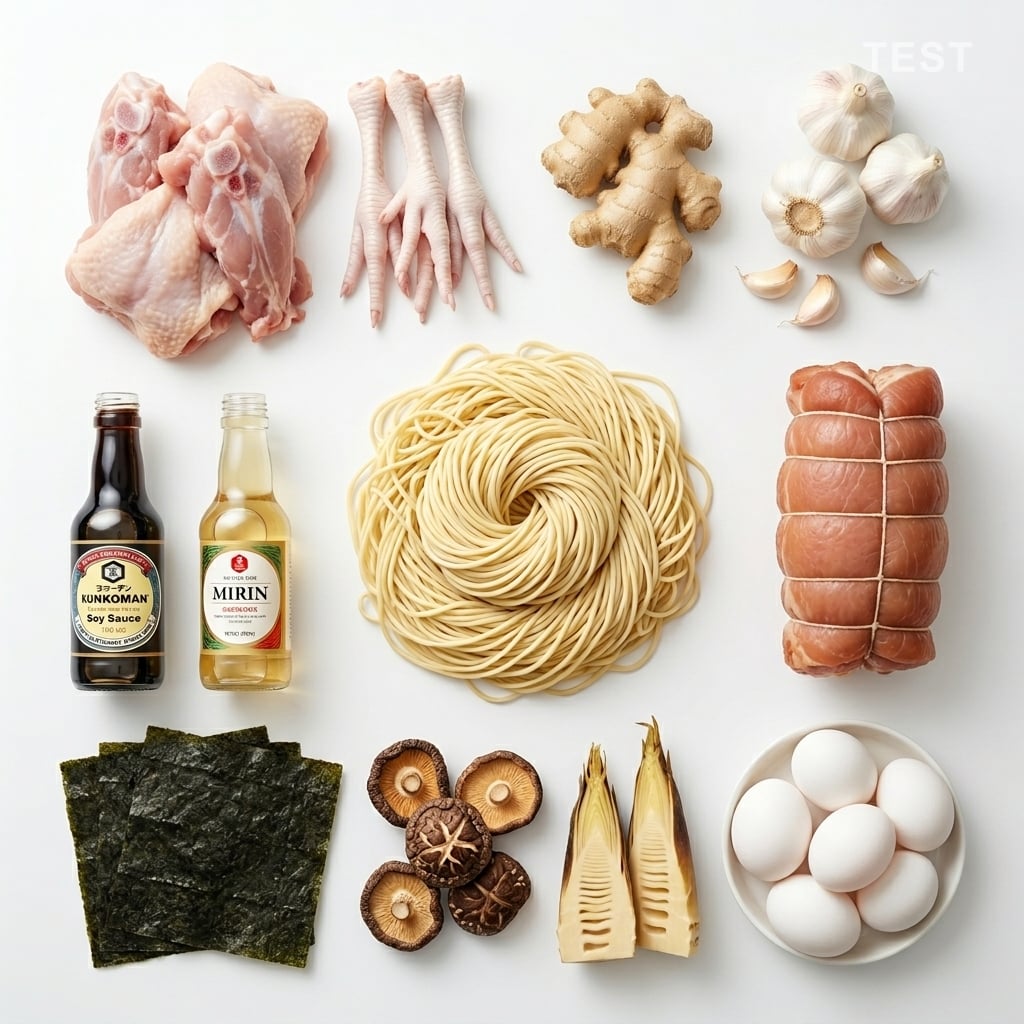
Everything laid out before day one: the bones do most of the work, the toppings get assembled on day two.
- Chicken backs and feet : The feet are the critical variable. They contain more collagen per gram than any other part of the bird, and collagen is what emulsifies under prolonged heat. Without them, the broth stays clear. Source them from a butcher or an Asian grocery — they are inexpensive and usually need to be requested, but worth asking for.
- Turkey breast roll (chashu) : Rolled, tied with kitchen twine, and braised at a low simmer in soy sauce, mirin, and water for about 90 minutes. It slices cleanly when cold and holds its shape in the hot broth without falling apart at the edges.
- Tare (soy-mirin seasoning base) : The seasoning concentrate that goes into each bowl individually — not into the pot. Made from soy sauce, mirin, and a small amount of the turkey braising liquid. One tablespoon per bowl is the starting point. Season the bowl, not the broth.
- Fresh ramen noodles : Alkaline, springy, slightly yellow. They cook faster than dried noodles, stay firmer in hot broth, and absorb flavor at the surface rather than soaking through. Dried wheat noodles are a substitution. They are not the same product.
- Dried shiitake mushrooms : Added to the pot for the final two hours of the boil. They contribute umami without competing with the chicken or muddying the color of the broth. Remove them before straining.
- Soft-boiled marinated eggs : Six minutes in boiling water, then into an ice bath, then overnight in a brine of soy sauce, mirin, and water. The whites take on color; the yolk stays jammy at the center. Make them on day one so they’re ready to slice on day two.
Blanch and Roast the Bones First — Don’t Skip Either Step
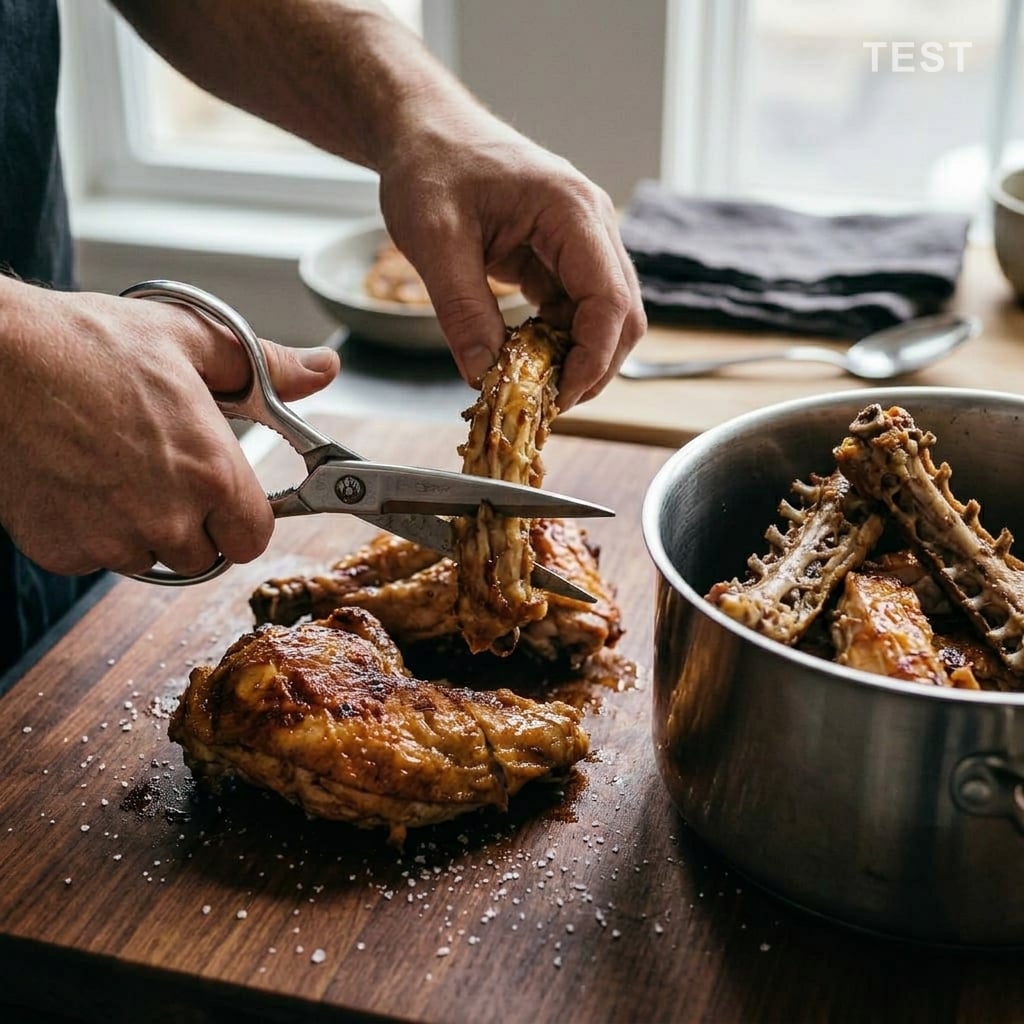
Before anything goes into water, the chicken backs and feet need to blanch in boiling water for five minutes, then drain and rinse under cold water. This removes blood, impurities, and the kind of off-flavors that accumulate across a long boil. Some recipes skip this. Those recipes produce a broth with a faint gray undertone that no amount of seasoning fully corrects. After blanching, the bones go into a dry oven at 400°F for twenty-five minutes. They don’t need to darken heavily — you want some surface color, enough to add depth without pushing the broth toward amber. The roasting is what separates a flat, one-dimensional liquid from one that has something worth tasting underneath the fat.
Keep the Boil at a Roll — A Simmer Gives You Clear Stock, Not Tonkotsu
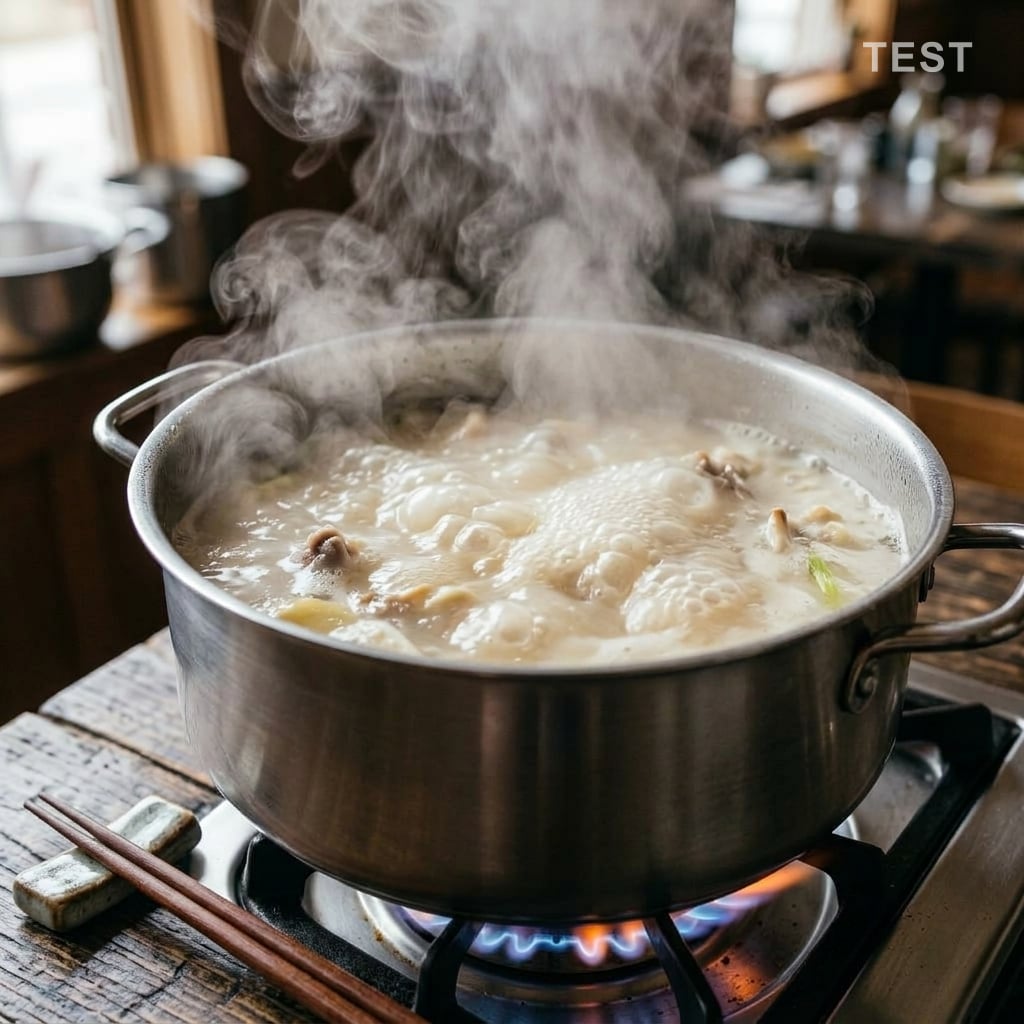
This is the central technical fact of the whole recipe: tonkotsu-style broth requires a rolling boil, not a simmer. A simmer extracts gelatin from bones and keeps it dissolved in a transparent liquid — that’s how you produce a refined stock or a consommé. A vigorous boil does something structurally different. The turbulence shears the collagen and forces fat into emulsion with the water. The broth turns opaque. The surface churns; steam rises continuously; the pot sounds like it means business. You will need to top up the water every two to three hours — always with boiling water, never cold, which would interrupt the emulsion and extend your timeline. After six hours, the liquid will be visibly white. After ten, it will coat the back of a spoon and leave a line when you drag your finger through it.
Rest Everything Overnight Before You Touch It
Strain the finished broth through a fine-mesh sieve into a clean container and refrigerate it uncovered until the fat solidifies on the surface — usually overnight, or at minimum four hours. You can then lift the fat layer cleanly in the morning with a spoon, leaving the broth below intact. This matters more than most recipes admit: the flavor settles overnight in a way that’s difficult to describe and easy to confirm when you taste a bowl assembled from rested broth against one assembled immediately. The turkey chashu also needs time — it firms in the refrigerator and slices without tearing. The marinated eggs need at least eight hours in brine for the whites to take on color and the seasoning to reach the yolk. By the end of day one, four things go into the refrigerator: broth, chashu, eggs, tare. Day two is only assembly.
Build the Bowl in Order — Sequence Is Not Decoration
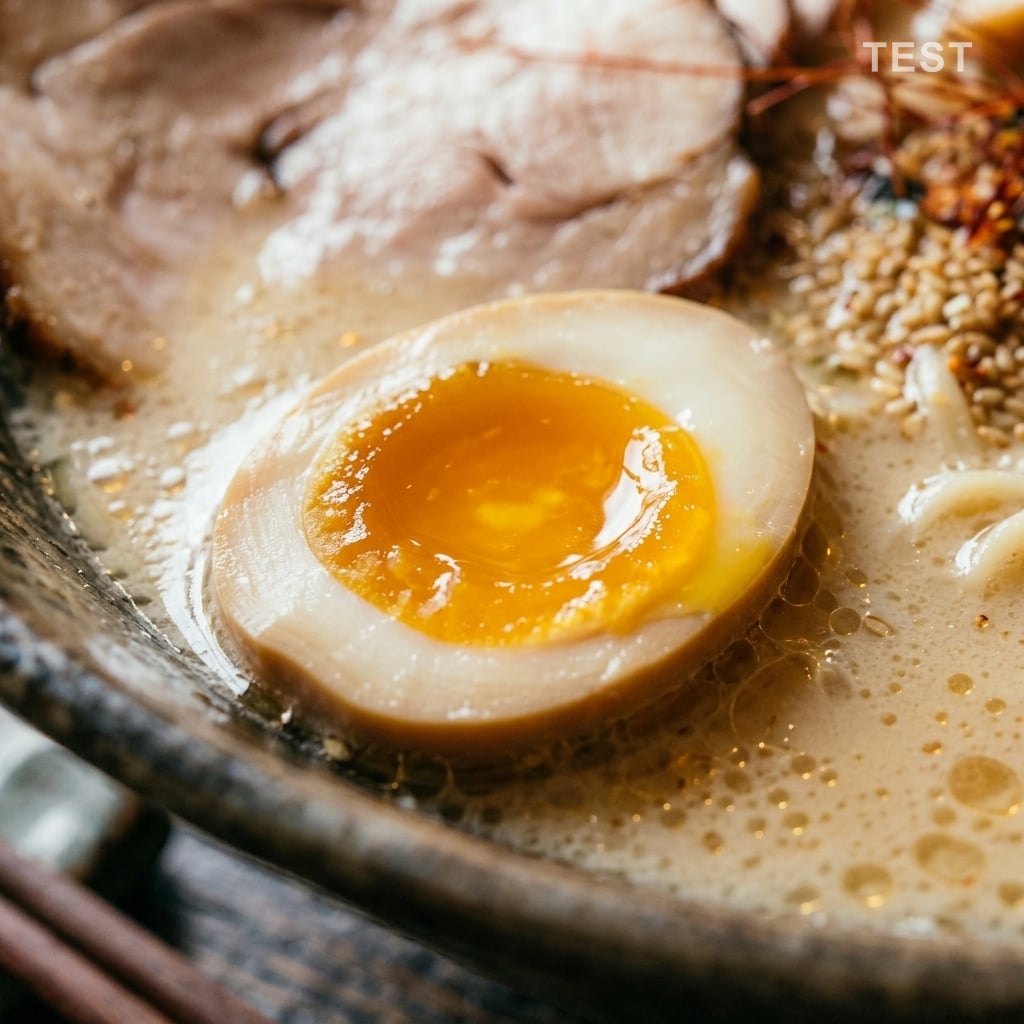
Warm the strained broth to just below boiling while you set up the toppings: bamboo shoots, sliced scallions, nori, and the chashu sliced cold from the refrigerator — it cuts more cleanly that way, thin and even. Put the tare in the bottom of each warmed bowl first, one tablespoon per serving. Ladle the hot broth over it; the heat dissolves and distributes the seasoning through the bowl. Cook the noodles separately in unsalted boiling water for 90 seconds, drain, and lower them into the broth. Add the toppings last. The chashu goes in flat. The egg halves rest cut side up, not to look composed, but because the yolk tells you immediately whether the timing was right: if the center is still a deep orange and holds a slight wobble when you tilt the bowl, it is.
Tips & Tricks
- Skim once at the start of the boil, then stop. Over-skimming removes the proteins that eventually emulsify into the broth. The scum that rises in the first fifteen minutes can go — after that, let the pot run.
- Season the bowl, not the pot. The tare goes in individually so you can calibrate saltiness per serving. Never salt the broth directly; once it’s in the pot, you lose the ability to adjust without diluting.
- Pull the noodles at 90 seconds. They continue cooking in the hot broth for another 30 to 45 seconds after draining. The window between springy and soft is narrow and does not wait for you to finish ladling.
Why does my broth look clear instead of white?
Two likely causes: the heat was too low, or there weren’t enough collagen-rich bones in the pot. A simmer extracts gelatin but keeps it dissolved in a transparent liquid — you need a sustained rolling boil to force it into emulsion. If the broth is still clear after 6 hours, increase the heat and keep going. The opacity develops gradually, and it won’t happen all at once.
Can I make this without chicken feet?
You can, but the broth will not turn white in the same way. Chicken feet are dense with collagen — more per gram than any other part of the bird — and collagen is what emulsifies under prolonged high heat. Without feet, you’ll get a rich, clear stock, which has its uses but is structurally a different product. If you can’t source them, add an extra 500g of chicken backs and extend the boil.
Can I use a pressure cooker to save time?
A pressure cooker will extract collagen faster, but the broth will not turn white. The opacity requires both collagen and turbulence — the kind that only an open, vigorous boil provides. Pressure-cooked chicken broth is gelatinous when cold and clear when hot: a different product, entirely respectable, but not this one.
What if I can’t find fresh ramen noodles?
Dried ramen noodles work as a substitution. Cook them according to package instructions, but start checking a minute before the stated time — they continue cooking in the hot broth. The texture will be slightly softer and less springy than fresh, but the bowl holds together.
Can the broth be frozen?
Yes, and it freezes cleanly. Portion it into 300ml containers — one serving per container — once strained and cooled. It keeps for up to three months. Reheat over medium heat, stirring occasionally; the emulsion re-forms as it warms.
How long does the broth keep in the refrigerator?
Three to four days, covered. The flavor settles and tightens slightly over the first two days, which is one reason the bowl tastes better assembled on day two than immediately after straining. Beyond four days, discard it — high-heat bone broths don’t keep as long as you might assume.
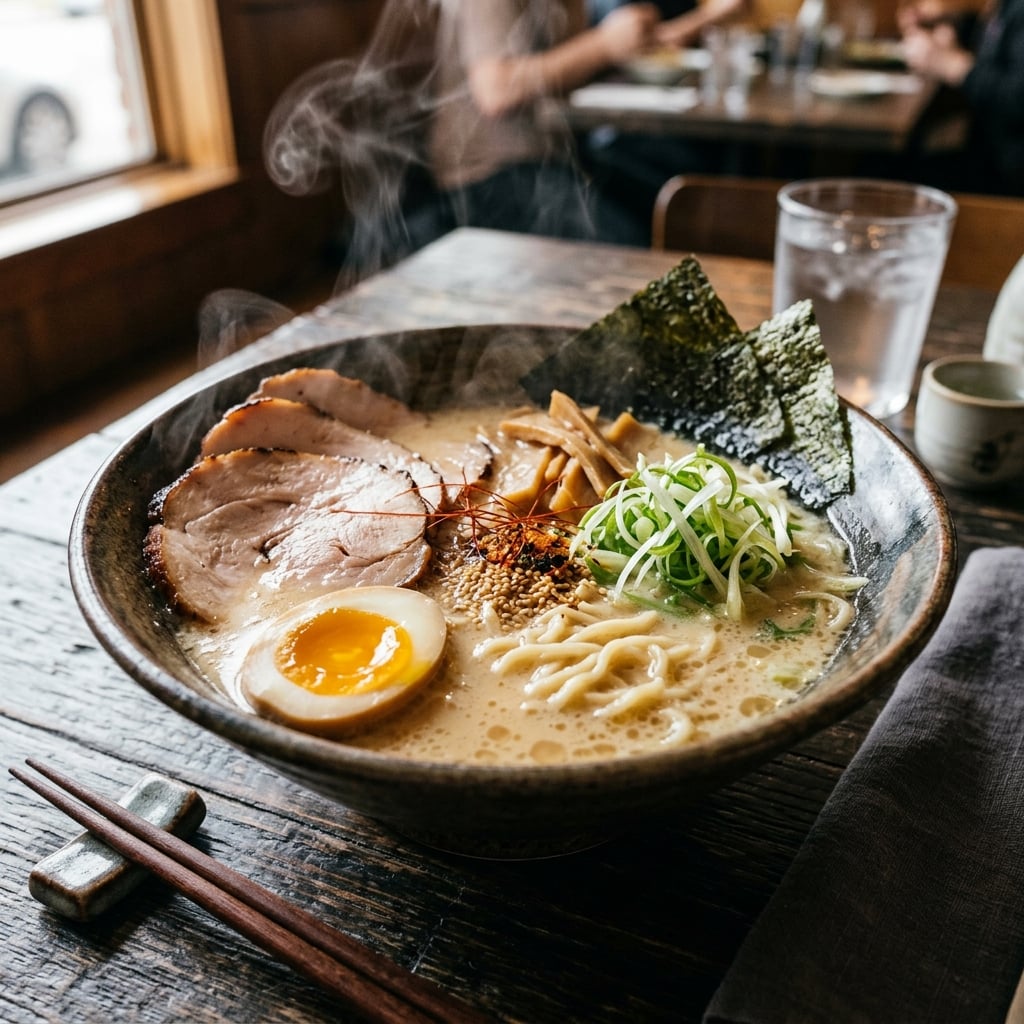
Tonkotsu-Style Ramen with Chicken Broth
Japanese-inspired
Soups & Broths
A two-day broth built on the same emulsification technique as traditional tonkotsu — sustained vigorous boiling forces collagen from chicken backs and feet into an opaque white liquid. The turkey chashu, marinated eggs, and tare are all prepared on day one.
Ingredients
- 1.5 kg chicken backs
- 500 g chicken feet
- 1 head garlic, halved crosswise
- 60 g fresh ginger, cut into thick slices
- 2 scallions, roughly chopped (for broth)
- 10 g dried shiitake mushrooms
- 3 liters cold water, plus boiling water for top-ups
- 600 g turkey breast, boneless and skinless
- 120 ml soy sauce (for braising liquid)
- 60 ml mirin (for braising liquid)
- 250 ml water (for braising liquid)
- 60 ml soy sauce (for tare)
- 30 ml mirin (for tare)
- 30 ml turkey braising liquid, reserved (for tare)
- 4 large eggs
- 80 ml soy sauce (for egg brine)
- 40 ml mirin (for egg brine)
- 160 ml water (for egg brine)
- 400 g fresh ramen noodles
- 150 g bamboo shoots, canned, rinsed and drained
- 4 sheets nori
- 3 scallions, finely sliced (for topping)
- 1 tsp sesame oil, to finish
Instructions
- 1Blanch chicken backs and feet in a large pot of boiling water for 5 minutes, then drain and rinse thoroughly under cold running water.
- 2Spread the blanched bones on a baking sheet and roast at 400°F / 200°C for 25 minutes until lightly colored on the surface.
- 3Transfer bones to a large stockpot with garlic, ginger, and scallions. Cover with 3 liters of cold water and bring to a full rolling boil.
- 4Maintain a vigorous rolling boil for 8 to 10 hours, topping up with boiling water only every 2 to 3 hours to keep the bones submerged. Add dried shiitake mushrooms during the final 2 hours.
- 5Roll the turkey breast tightly and tie with kitchen twine at 3cm intervals. Combine braising soy sauce, mirin, and water in a saucepan and bring to a bare simmer. Add turkey and cook gently for 90 minutes, turning once at the halfway point.
- 6Remove turkey from the braising liquid and refrigerate. Reserve 30ml of the braising liquid for the tare.
- 7Combine tare ingredients — soy sauce, mirin, and reserved braising liquid — in a small saucepan and simmer for 5 minutes. Cool, then refrigerate.
- 8Boil eggs for exactly 6 minutes, transfer immediately to an ice bath, peel, and submerge in the egg brine. Refrigerate overnight.
- 9Strain the finished broth through a fine-mesh sieve into a clean container. Refrigerate uncovered until fat solidifies on the surface.
- 10On day two, skim and discard the solidified fat layer from the broth surface.
- 11Slice the chilled turkey chashu into rounds approximately 5mm thick.
- 12Reheat the broth over medium-high heat to just below a boil.
- 13Spoon 1 tablespoon of tare into each warmed bowl.
- 14Ladle 300ml of hot broth into each bowl.
- 15Cook ramen noodles in a separate pot of unsalted boiling water for 90 seconds, drain immediately, and divide among the bowls.
- 16Top each bowl with chashu slices, one halved egg, bamboo shoots, sliced scallions, a sheet of nori, and a few drops of sesame oil. Serve immediately.
Notes
• The boil must stay vigorous throughout — reducing to a simmer will not emulsify the collagen and the broth will remain clear.
• Top up with boiling water only. Cold water disrupts the emulsion and adds time to the process.
• Season each bowl with tare individually, not the pot. One tablespoon is the baseline; adjust up or down depending on the saltiness of your soy sauce.
• The broth freezes well for up to 3 months. Portion into single-serving containers before freezing and reheat over medium heat — it re-emulsifies as it warms.
Nutrition Facts (per serving, estimated)
| 580 kcalCalories | 43 gProtein | 62 gCarbs | 14 gFat |